Yeah, the swamp has finally dried out and the little peepers are out of the trailer, out of their brooding boxes, and in the coop. Without another moment wasted, the Planner was back at work on the subframes again.
Upon erection of the outer subframe, a mistake in the design was discovered. In order to fix the mistake, the I-beam columns were boxed at the location where the cross brace intersected.
Some of these boxes were on bottom (easy to weld) and some were on top (harder to weld). This picture does not clearly show the top box. In fact the only way, I know it is a top box is because there is not a concrete base in the picture (see below).
However, as it turned out, the mistake was not a mistake at all. It would have been difficult to weld the cross brace when mounted inside of the I-beam. Mistake or master planning? Interesting....
Fortunately, once all the materials were cut and tacked into place, the welding of the boxes went fairly easy.
Upon completion of the boxes, the cross beams were attached, tacked, checked for plumb and square, and welded together.
Three days later all inner and outer subframes were erected and welded in place. Lots of work done in a short amount of time.
It took just short of ten pound can of welding rods, the assistance of the Kid and the tractor, and ample supply of patience by the Planner when assisting the Kid in the making of his videos. The video shows two boxes being installed on one frame. Both are on the bottom, one left and one right, but with different views. Being nine, a boy, using a phone with no stability supports, and not being able to watch clearly because he had welding hood that was too big in order to protect his eyes, I think he did a fairly fantastic job with his videos.
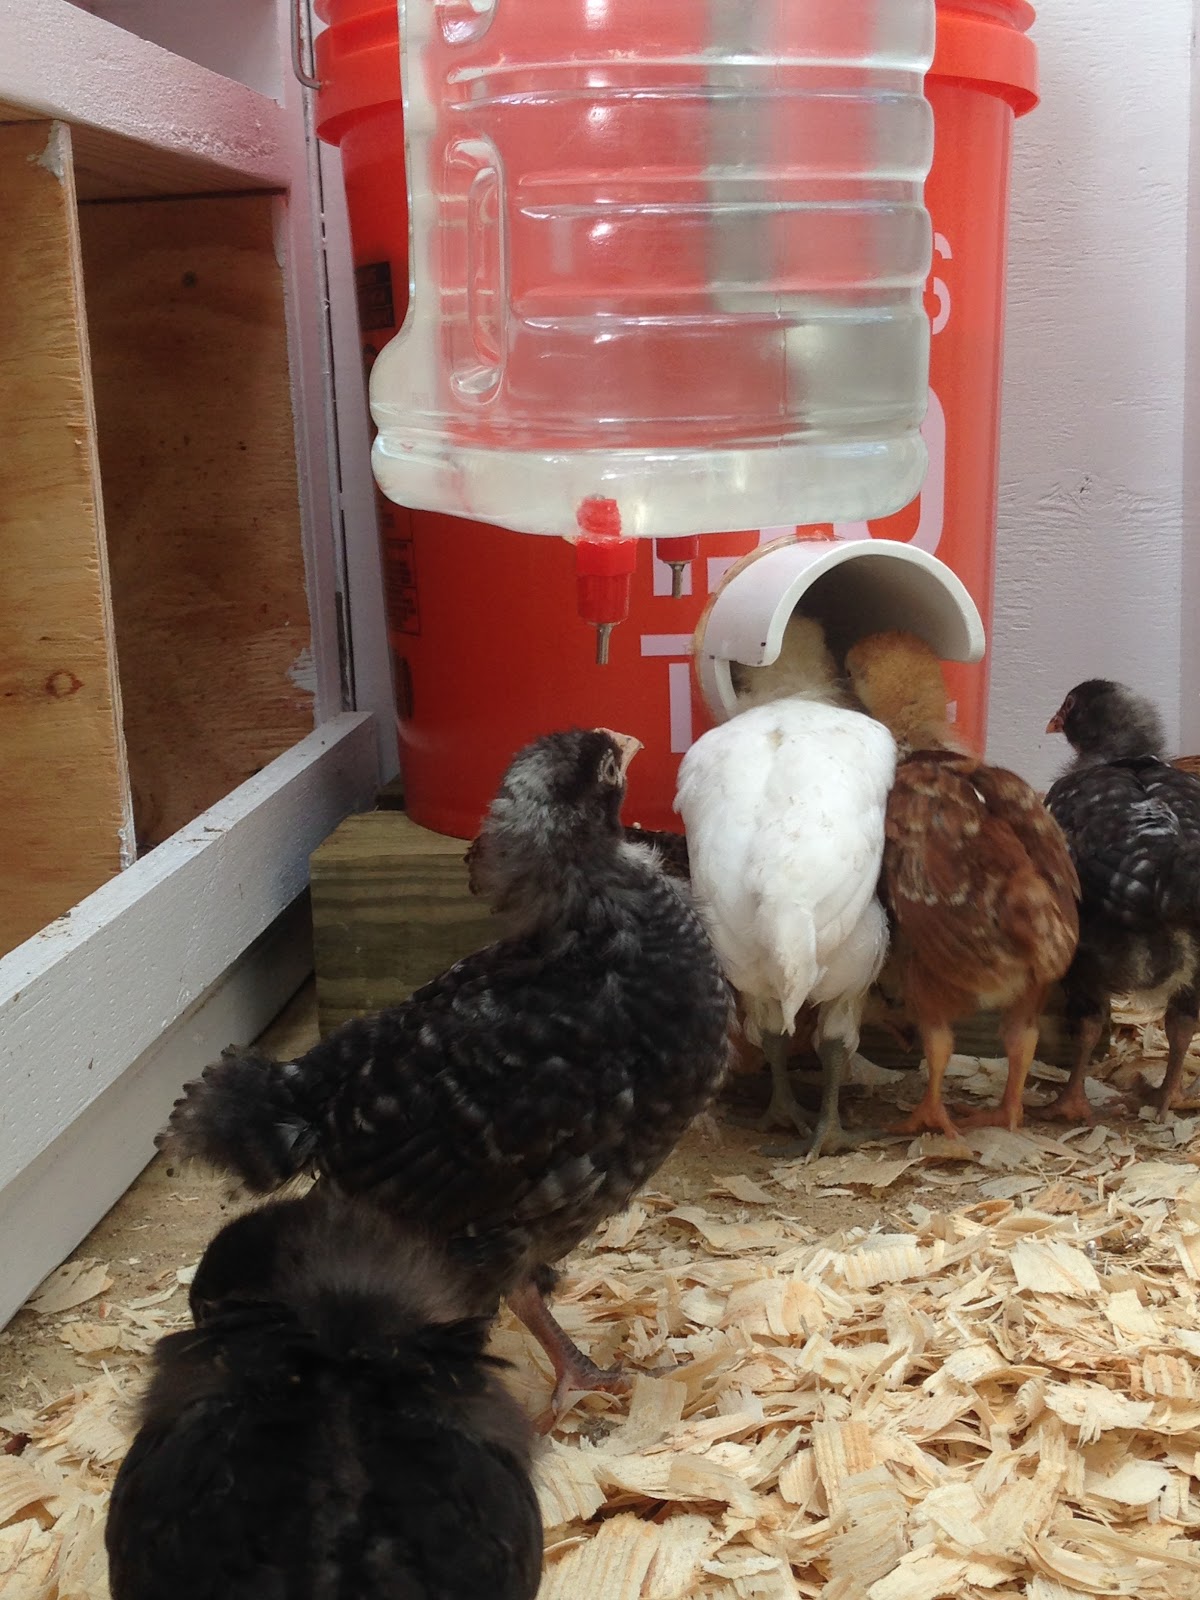
Not two days after being placed in the brand new chicken coop did I decide the standard chicken waterer and feeder had to go. I know, I know. I even ranted about why I used chicken nipples in the first place several posts ago but I thought maybe little peepers wouldn't be as messy as chickens.
Wrong, wrong, wrong. If anything, they are messier. Their little feets can stand within the water ring meaning when they poop it lands directly into the water. Not only is this gross, it is unsanitary. And gross. And stinky. And gross. Did I mention gross?
The chicken feeder was not as messy or unsanitary but was wasteful. Unlike the waterer which attracted all kinds of nastiness, the feeder would be dumped out. This chicken endeavor is expensive enough, no need for wasting feed too.
With the usage of more leftover PVC tubing, a bucket, and some epoxy, and a few simple tools, a new feeder was made. Of course, this job also required the assistance of the Planner.
Armed with an extra large hole saw, the Planner made quick work of cutting a 3" hole into the bucket.
In the building of Plan473, I am really going to have to get over my fear of power tools. But come on, sawed off arms and legs or mangled fingers is just not my version of fun. Ok, maybe I am being a tab bit irrational. A tad bit.
It is not all power tools. I used this Dremel tool to smooth the edges just fine. Of course, I had on pants, gloves, and glasses. Safety first.
If you look closely, you can see how much was "trimmed" in order for the PVC to fit nicely. So, it will require a little more epoxy than planned. It will work, right?
With the PVC feeder cut and rounded nicely, it was secured into place.
Not too close to the bottom, not too far from the bottom either. Just right.
For the new waterer, all that was needed was a much larger water container. After scouring various local grocers, this one gallon Gatorade bottle was found with an extra duty handle, heavy walled sides, and a flat bottom for up to four nipples.
After much debate, it was decided to add only two nipples to the bottle as this is just a temporary fix. The more permanent waterer will come later and requires the use of an IBC tote, more PVC, and more nipples.
Once again holes were drilled and nipples were sealed into place. In case you are wondering, and I mention there is a debate on this, hot glue was used to secure nipples into place. Some chicken nuts say the glue is harmful. Well, if you are verifying the feeder jugs being used are BPA free, then maybe hot glue is not for you.
Looks great right. Now, add the water and hang in the coop.
Success! The waterer was hung with some versatile paracord to allow for adjustment. Attached to the end of the paracord was a carabiner clip allowing for easy water jug removal.
The feeder was not a success. Somewhere in my readings, I miss read the plans and all the feed fell out when the five-gallon bucket was bumped. After further inspection by the Planner, a new modified version was created. Removal of the first feed spout was easy as the glue had not dried. This second spout was attached with hot glue and it held up better than the epoxy. Go figure.
Chicken feed was once again poured into the bucket and when shifted side to side gently no feed fell out. Success!
To accommodate for chicken height, the bucket was placed on two 4x4 posts leftover from the coop. This method can be added to as the chickens grow. Nothing permanent was created as the final version will be placed outside the coop when chickens are older. No food or water should be placed in the roosting areas. Gross.
While it seemed at first that the smallest of the little peepers would not be able to reach, it became apparent chickens are adaptive. Whoever said "chickens are dumb" must be dumb. Isn't fluffy chicken butts the cutest thing ever!
Ahh, the roller coaster of Texas weather. Last Friday, melting. Bet you remembered to read in your best witch voice today, didn't you? Ha!
Last Saturday, layers were needed. Better to layer than to need to waders. After the swapping on Monday, the 20th, the standing water is finally starting to evaporate. Added bonus to yesterday's hot weather. With plans to continue work on the substructure ASAP, the chicken coop was attempted for completion.
As you are well aware, time is not on your side at times. Worked hard all weekend, and yet the coop is still not done. Some of it just has to do with the time required to complete a task. Some of the delays have to do with inadequate tooling. Some of it has to do with inadequate tool holder. Yup, you guessed it, me.
So what. I can't seem to use an ancient old wood stapler. Big deal. Give me a hammer. Ha, showed you. Looks like crap, but hey, it's attached.
The Planner not liking the results of the stapler brought out an even older model tool. A wood staple designed to be hammered into wood. While this "old as man procedure" worked and worked well, we would be "old as man" by the time hammering these buggers in were done too. Nope, this is not gonna work either. Gonna have to get a pneumatic stapler for the remaining chicken wire.
Then there were the misplans. Cutting strips to decorate the nesting box for purely aesthetic reasons sounded like a perfect idea. However, the stripes when nailed into the box lined up perfectly with the gap meaning the stripes could be pulled right off.
Don't worry, who needs staples and nails when there is industrial grade glue. When asked why the other forty million strips were not glued on? I was told, "for aesthetics, nails make the presentation look pretty." Ugh. Me and my idea to have a fun, inviting, non-coop like, chicken coop.
By Sunday afternoon, the weather was still very cool and the chicken coop was even cooler. The Planner sure can design and implement a fantastic coop.
Monday, odds and ends were completed on the coop and the first of two primer paint layers were applied.
Tuesday, the Kid finally managed to destroy the weak-lined, plastic water bottle holding the chicken food. Not comfortable with cutting the PVC needed to modify the feeder myself when building the feeder in the first place, I thought the water bottle was a great temporary/permanent replacement fix. Handing the salvaged PVC pipe from when the septic was installed, yes from one of my many mistakes, the Planner skillfully modified it for the chicken feeder. Now, the feeder not only holds more food it is easier to fill. Remove feeder, pour in food, and replace. Nice.
While replacing the feeder, a few peeps decided upon their own to fly to the coop. Escaping sounded good on paper but once acted upon they ran around helter skelter, scared and frazzled, attempting re-entry into the brooding box. Gotta get these winged escape artists a bigger playpen!
Back to work then. Still lots of priming to be done before painting can even be started. Notice how I am the only one painting.....
A little later another mishap. After calling and calling for the dog, we thought she was a goner. Getting up there in old age, we thought she wandered off and lost her way back. Thought the ticker gave out without notice. For a few brief moments, all was a sad affair. Nope, death is not a word in the unsinkable sally dog vocabulary. Her owners were calling and calling while she attempted to dig a hole to the center of the earth in pursuit of a gopher. Stupid dog. Got me all sad and puffy eyed for no reason. I am SO GLAD she came back. Stupid dog, as I write this blog I am all teary-eyed again.
Wednesday, I came back to work after having lunch with my family to find this love note on my desk. I have the best kid ever when he is not driving me crazy that is. Sure am gonna miss these days.
Wednesday afternoon, I came home to a primed coop. I was tempted to leave the coop this bland white coloring. They are chickens by the way. Who said they needed a color coordinated, fun painted coop. Oh, wait, I did. Me and my big mouth.
Thursday, while I was at work taking a picture of a man carrying a concrete monkey on his shoulder along with a 15foot aluminum pole..... (never know when you need a concrete monkey)
The planner was sending me pictures of the coop being painted. Yeah, paint! Not primer. But lime-a-licious paint. Hole-E-crap. That is a very bright, bright, sunglasses are needed, green paint.
Waiting for in person decision on continuing with this Kid picked out color, the roof was attached and a chicken roost was built.
Upon arrival at home, the color was even worse. It was more yellow than green and neither was a nice color. Taking it under further consideration, the paint was put on hold and south wall was covered chicken wire.
Friday, the south wall 1/2 wall attached and the chickens in their brooding box were placed inside the coop for a transition period while a quick trip was made to the local feed store for more pine mulch.
The Kid climbed inside the coop to place the mulch. There was a temporary moment when it was debated to leave the kid and remove the peeps. Let us debate: the Kid and the peeps both squawk and stink, are messy, and hard to hold. It really was a hard choice.
The choice was made for the few stolen moments like this morning when I had the kid with me at work for lunch with a friend.
The chickens will, not matter how much I want, never let me have a stolen moment. They will always look like death is upon them, even when they are being booted out into a much needed, new, larger home.
With standard chicken waterer and feeder at the ready, the little peeps were released into the new homes. The heating pad protected in the corner will still provide the warmth needed at night for a few more weeks. Giving the chickens the boot from their nesting box was worth the wait. Oh by, the way, the coop is still not painted on the outside. Maybe this weekend. Maybe...